(801) 843-6295
3520 S State St, Salt Lake City
Mon-Fri: 7:30 AM - 5:30 PM.
Utah’s Best 3-Year / 36k-Mile Warranty
Utah’s Best 3-Year / 36,000-Mile Warranty
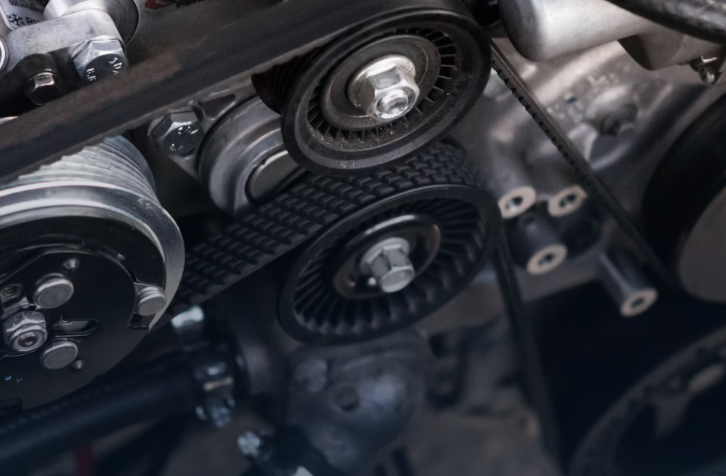
Car Care Tips That Actually Help
Simple, no-fluff guides from our techs—oil change timing, warning signs, seasonal prep, and how to protect your engine.
Skip the guessing. We can check it fast.
Mon–Fri: 7:30 AM – 5:30 PM